Get Planning to get Growing!
Seed choices galore!
The first step to starting seeds is to have a plan. With all the choices, it is quite easy to get overwhelmed. Start slow and easy! Before you choose your seeds there are a few things to think about. Space, heat, and lighting are all key considerations.
Where will you put your little seedling babies until they are ready to plant outside? Determine where you will grow your seedlings inside. Do you just want to start a few plants or would you like to have a cutting garden or enough veggies to share with family and friends? If you are only growing a couple of flats or plants, you can get away with about a 2ft x 2ft area on a counter, table, or shelf. If you would like to grow many flats, or containers, consider using a wire shelving unit like the one I have shown. The dimensions will be dependent on how many plants or flats you plan to start.
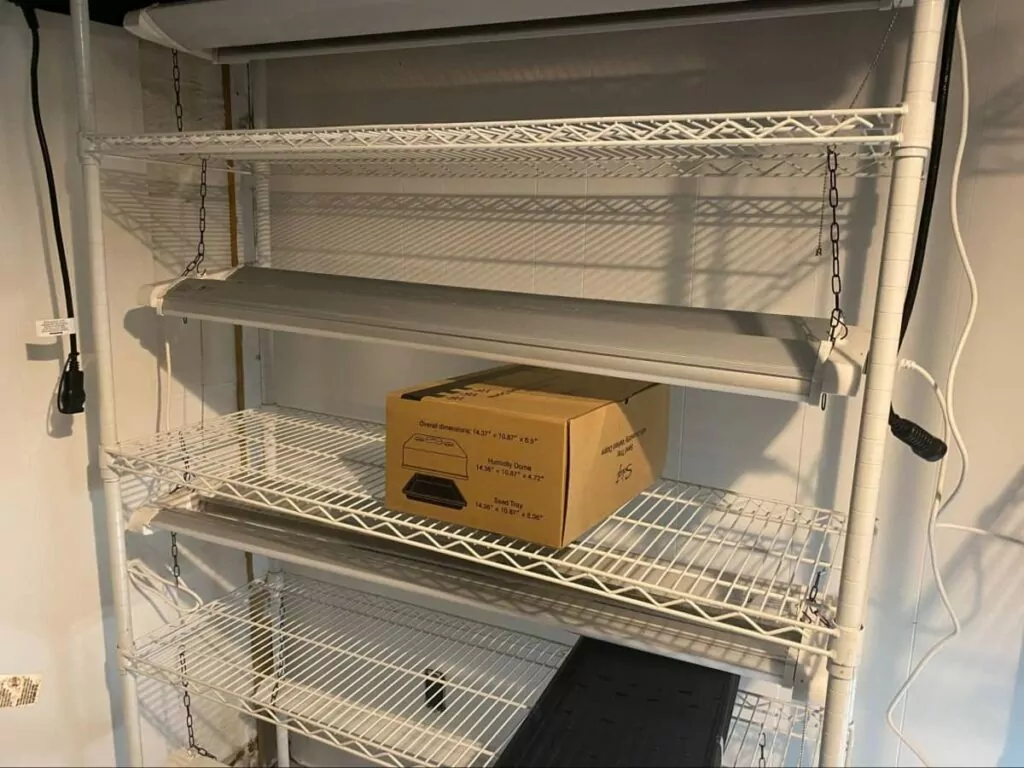
These youngsters will need heat to germinate and once they are growing, they will need light, a lot of light! If you would like to invest in a heat mat, you can get one online or at a plant supply store that can accommodate 1-2 flats or multiple small pots. The first year I decided to grow more than a couple flats of plants, I didn’t want to invest in multiple heat mats. Instead, I repurposed a wire rack over a heating vent in my dining room. The lowest shelf was about 6 inches off the ground allowing the heat from the vent to travel up through the grates in the rack. I kept my heat set between 70-72 degrees and rotated my seed trays every few days since the heat was not consistent from top to bottom, and it worked great.
For light, the sunlight from a bright window is not enough. Seedlings need direct overhead light for 16+ hours per day. I use simple LED shop lights that I can attach to the rack with lightweight chains to raise and lower as the seedlings grow.
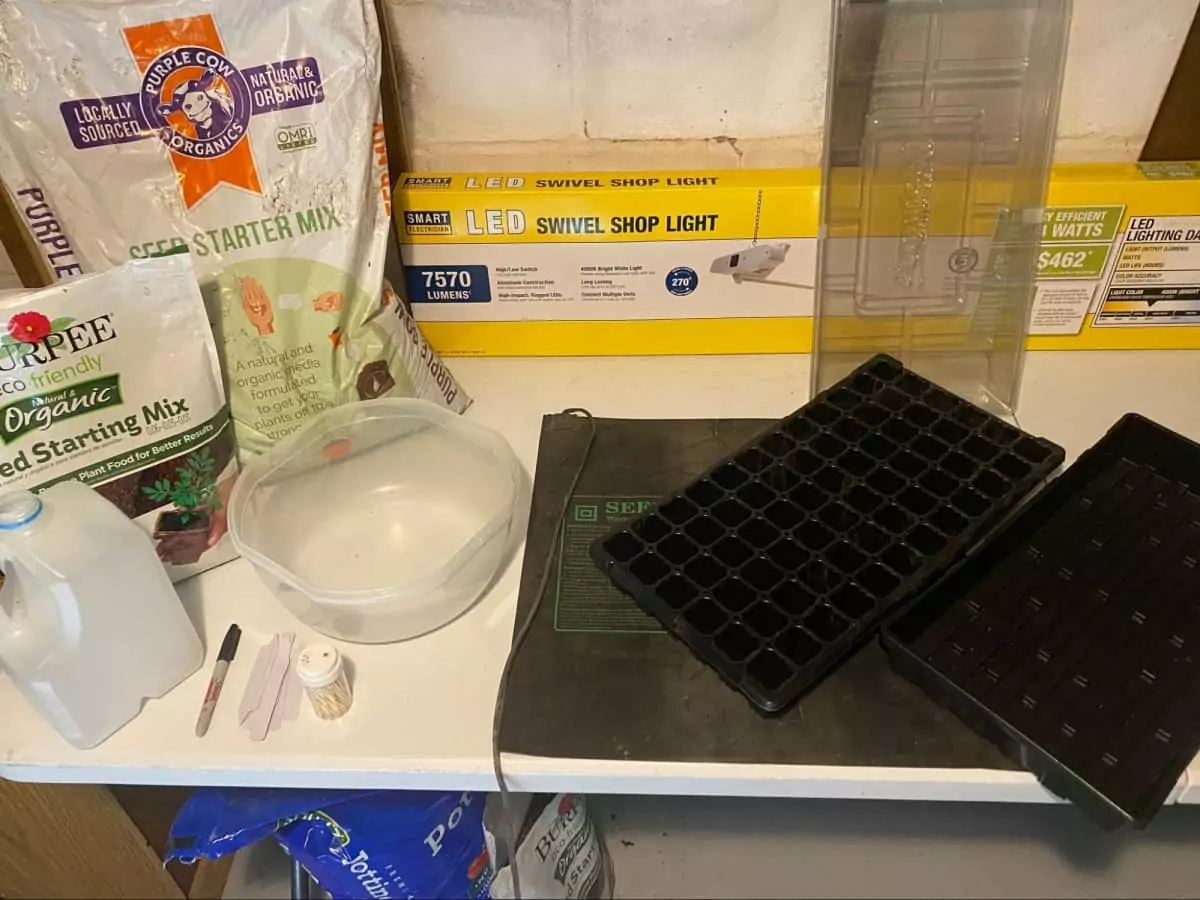
Seed Supply Checklist
- Seed Starting Mix (potting soil will not work! Use mix specifically made for seed starting)
- Flats, egg cartons, or other containers for seed starting ( I use 72 cell flats which is likely too much for the casual grower. 24 cell flats are commonly sold and more manageable)
- Clear tray covers to hold in moisture for germination. Plastic wrap can be used in a pinch.
- Drip trays without holes (handles the excess water from the cell flats)
- Heat mat
- Shop light or grow light
- Rack or designated seed starting location
- Plant labels (to label seeds)
- Permanent marker (to mark plant labels)
- Seeds
- Toothpicks (for small seeds and to hold up plastic wrap if using)
- Large mixing bowl or large container (to mix and saturate seed mix and water)
Seed selection
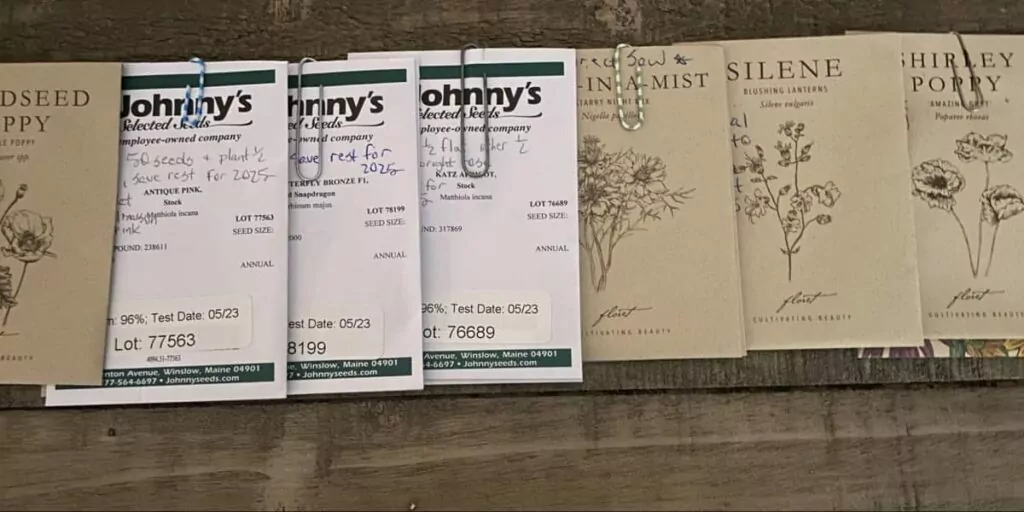
Enjoy picking out your seeds! I would say try not to go overboard when ordering seeds, but then I would have to follow my own advice! Just be sure to read the seed information to help pick seeds that will fit what you are looking for.
Choosing seeds is a whole topic in itself! I will cover some specifics in an upcoming blog, but for now here are a few things to consider to get you started in choosing your seeds. Read the seed packet carefully. Assess your planting situation so that you pick the right seeds for your needs and conditions.
- Where will the seedlings be planted outside? Full sun, partial sun, shade?
- What kind of soil will the plants go into? Pots, raised bed, directly into the ground?
- How much water do they need once planted? Heavy water requirement or drought tolerant?
- Are the flowers “One hit wonders” or will they bloom again and again throughout the summer referred to as “Cut and come again”.
- What colors do they come in?
- Do they require staking to keep from toppling over?
- Should they be direct seeded or started indoors?
Just some thoughts to get you started!
Garden quote: Life begins the day you start a garden
Chinese Proverb
Coming soon…. Growing tips for successful seed starting! This will take all your planning and put it into implementation.
Shawn L. Vieth LLC
838 E. Madison St. Waterloo, WI 53594
